Monday, March 31, 2014

the big reveal: foodie penpals exchange foodie gifts


ever heard of the foodie pen pals?  a while back, i came across a badge on someones blog and decided to investigate.  turns out that everyone in this group exchanges gifts of food with a randomly selected partner each month.  lindsay of the lean grean bean founded the group about three years ago and if you want to give it a try, visit her site and sign up.  this is the third time i have participated and it has been a lot of fun.

first you have to shop for your partner, how can you not enjoy that.  you do have to make sure they do not have allergies, dietary restrictions or preferences first but once you know, you can choose whatever you like to send them.  some participants send homemade goodies.  so far, i have just gone shopping, but i may have to try sending some homemade goodies-maybe next month...

lindsay recently decided to change things up a bit.  in the past, you were paired randomly and the person you sent a box to was not the same person who sent one to you.  however this month we were partnered so that we would swap boxes; my box came from kristyn of edmond, oklahoma and she received a box from me.  

the spending limit is $15 and i easily kept within that budget by visiting two ethnic markets in my neighborhood.  as a result, kristyn got a box filled with indian, latino and asian ingredients that she can cook with at home.  to see kristyn's box, follow this link.

my assistant, twitch, quickly turned the box into a bed.  there must be some rule of beds in the cat handbook that requires cats to take control of any and all boxes in the house.  trust me, if i place a box, any kind of box-no matter what size, anywhere in the house, i will have a cat sleeping in it.  or as in this case, on it.

you can't go wrong with cupcake stamps!

a serious box of snacks!  the canister is full of monster sized cookies and the bubble wrap is hiding a bottle of salad dressing.  it is almost as if kristyn knew me-cookies and salad dressing, my two favorite food groups...

twitch was looking for kitty snacks.  i offered her a cookie, she declined and that is okay, i really didn't want to share them anyway!

big and chunky and full of chips and nuts and kahlua.  now those are some serious chocolate chip cookies!

i like the way she repurposed the coffee canister with a map of oklahoma-crafty!  be sure to check out the website for the links to see the other boxes that were sent around.  and if you want to try, be sure to sign up before the 9pm EDT deadline on april 4th!

Tuesday, March 18, 2014

mocha brownie cake with whisper creek ganache: a tuesdays with dorie post

for this weeks challenge, the tuesdays with dorie bakers baked up marcel desaulniers mocha brownie cake recipe from the book, baking with julia.   with a texture more like a devil's food cake, this rich little cake wasn't much of a brownie for this chocolate fan.  did that make it a poor choice for a chocolate fix?  no, especially not with the thick coat of ganache on top of each little two-bite cake.  but truth be told, i would much rather have a traditional, dense and dark chocolate brownie.

the recipe calls this a mocha brownie cake.  that was a bit confusing since the cake itself had not a drop of coffee in it.  to punch up the mocha flavor, i tried to add a bit of coffee extract to it but did not add enough-my fear of over doing it cancelled out my good intentions.  the result was just a really strong chocolate flavored cake with the texture of a devil dog; remember those?  for the ganache frosting, i decided to switch the coffee, a mere 1/4 cup, for an equal portion of whisper creek tennessee sipping cream.  it seemed like the perfect choice for a dessert to be served at a pot luck dinner.  trust me, it was.  i came home with an empty plate.  good thing i stashed a few at home for my husband and me to indulge in!

as a rule, we do not post the recipes we bake from.  it isn't fair to the author for us to give away the recipes without permission.  my suggestion, buy a copy of the book or borrow it from a library or a friend.  honestly, it isn't hard to find; i found it on several websites with a quick google search.

the mini cupcake pan baked up 24 cakes plus a few large hearts to make a shamrock.  the ganache recipe was more than i needed to frost the tops of all of the cakes.  i had plenty left for the ones i stashed-we couldn't skimp on the frosting for those!

yeah, it's hokey.  so what, this green eyed irish girl (hey, i'm also italian-what a combo!) had to get a little festive for the pot luck!  not sure that anyone noticed it though...

and this is how the husband and i indulged; laid out on a silver platter with a bit of sipping cream to wash it down...perfect. chocolate. indulgence!!!

be sure to check out the tuesdays with dorie page to see how the other bakers fared.  perhaps, bake up a batch yourself.  if you do, the whisper creek substitution is worth trying.  and no, they did not pay me to say that-i do not do endorsements and do not accept payments or advertising.  but if someone wants to give me a bottle to bake with, i won't turn it down!  the truth is that i happen to have an open bottle in the fridge and grabbed it rather than brewing up a pot of coffee just for a 1/4 cup, and i am glad i did!  bake on friends!

Saturday, March 8, 2014

marbled pound cake

two of my favorite things; bundt cake and pound cake.  two of my favorite things rolled into one; even better!  put it on an awesome vintage fenton cake plate; nearly perfection!  this cake plate came to us from my mother in law.  she sent it to us at thanksgiving and i have used it several times now.  apparently, i have a milk glass fetish and everyone in the family has caught on to it.  this cake plate makes even the simplest cake look rather elegant-it's the ruffled edge that does it.

for the last 2 years, i have been taking classes and workshops centering on photography and food styling.  it has been an amazing experience.  the people i have met, from professional photographers and food stylists to other bloggers like myself, have taught me so many things that have helped me to improve my photos.

to take the photo of this cake, i used black foam core boards to give it a dark background.  for the lighting, i let natural sunlight illuminate the scene and positioned bounce cards to fill in the dark spots.  then i let my collection of plates fill the shot.  these vintage stangl plates were a steal at the thrift store- just 69 cents a piece!
it was interesting to see how the shot changed as i moved things around, added and deleted things.

as much as i liked the stangl plates, i was afraid the pattern would distract from the marbled cake slices once i put them on the plates.  a quick change to vintage lu-ray pastels in blue with some daisies.

out went the daisies, in came some cocktail napkins and silver plate cake forks.  these items were also thrift store finds.  the silverware is actually from a partial set i found one day, over 20 pieces of silver plate marked community that is actually an oneida pattern.  my collection cost me less than $10 but an internet search found it priced at $130 for a service of 4:  SCORE!!!

yes, i still have much to learn in the world of photography and food styling, and i look forward to learning all i can.  but as far as thrift store finds go, i think i have mastered that part!

amazing how the shot changed as the sun came out and then again ducked behind the clouds.  when photographers talk about chasing light-they aren't kidding.  you can have your shot all lined up, settings all correct and in the blink of an eye, it is gone.  this dark shot is so moody, and almost depressing.  but at the same time, when the sun came out and lit up the set, it was just as interesting(see the next shot to view the difference).  be sure to visit here often, see what i have learned and what i have scored at the thrift store!

marbled pound cake bundt
makes 1 bundt serving 12-16

vanilla batter
9 tablespoons unsalted butter, softened
1 cup granulated sugar
1/4 teaspoon salt
1/2 vanilla bean-seeds only, scraped pod reserved for other uses
3 large eggs
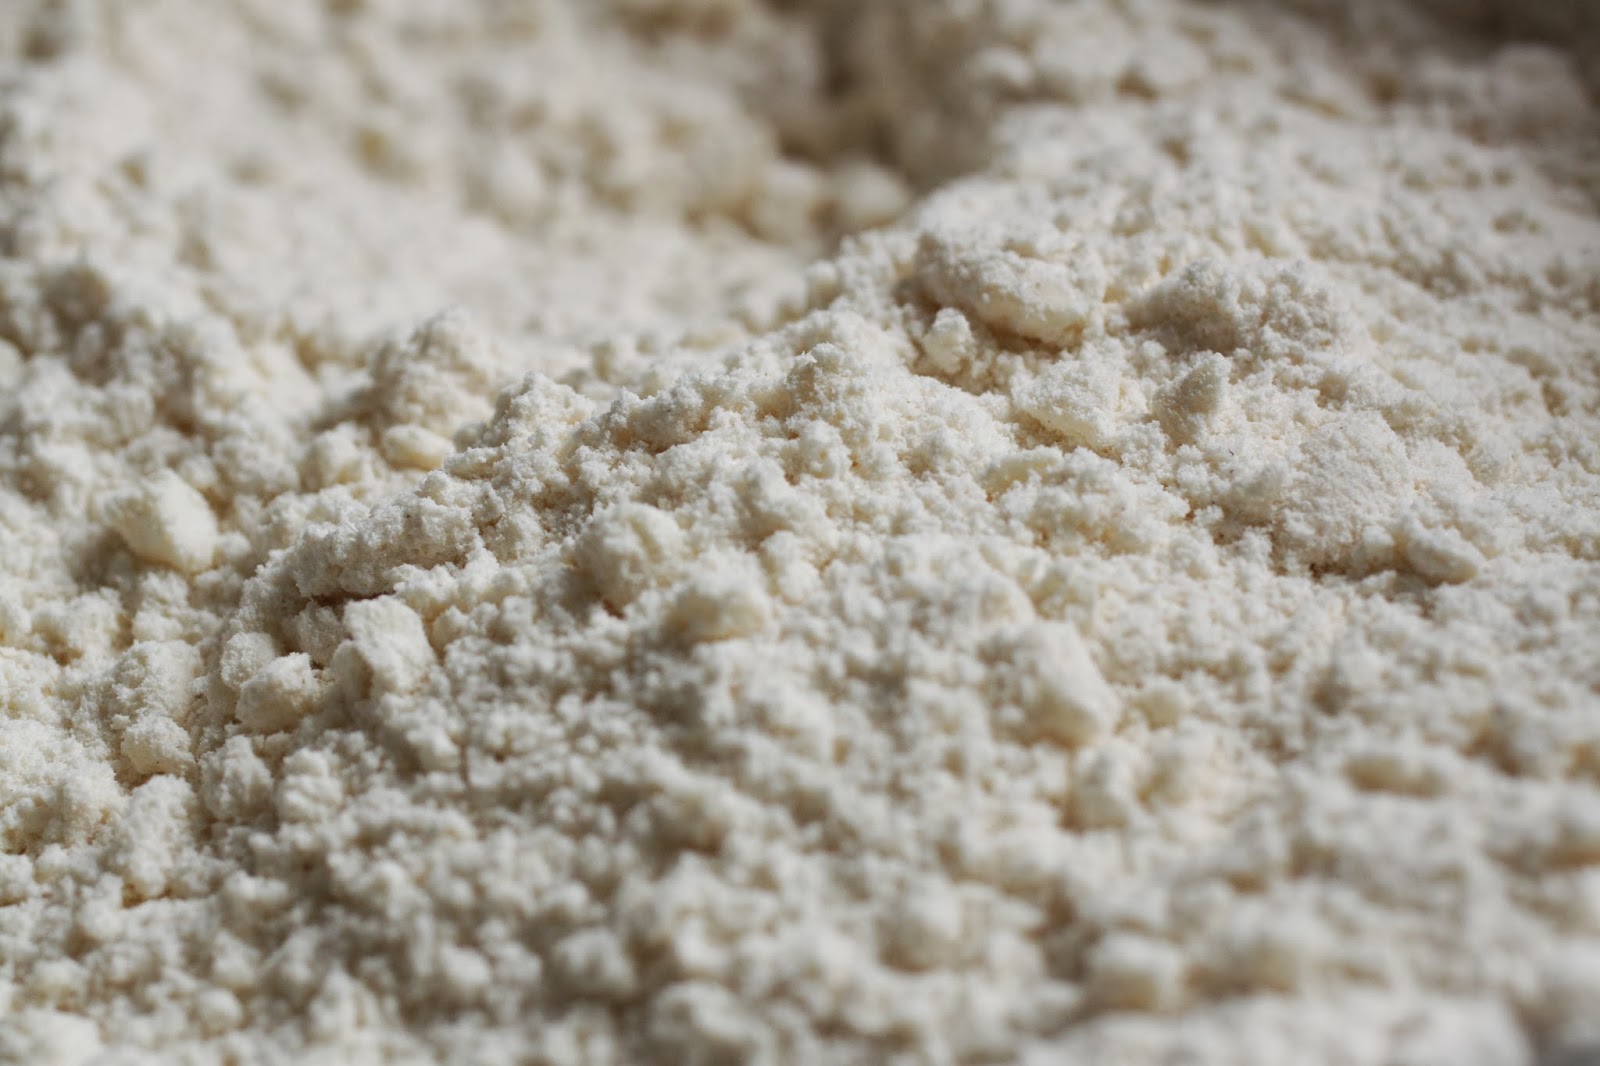
1 1/2 cups cake flour
1/4 teaspoon baking soda
1/3 cup buttermilk

chocolate batter
9 tablespoons unsalted butter, softened
1 cup granulated sugar
1/4 teaspoon salt
3 large eggs
1 cup plus 2 tablespoons cake flour
1/3 cup unsweetened natural cocoa powder
1/4 teaspoon baking soda
1/3 cup buttermilk

preheat the oven to 350.  generously grease a bundt pan and set it aside.  the mixing directions for both batters are the same, mix the vanilla batter first, scrape it into a bowl and set it aside.  without cleaning the bowl and beater, mix the chocolate batter and fill the prepared bundt pan.

to mix the batter, place the butter, sugar and salt (and vanilla bean seeds for the vanilla batter) in a mixing bowl and cream on medium-low speed until fluffy, about 2-3 minutes.  carefully add the eggs, one at a time and scrape the bowl as you go to fully incorporate the ingredients.  the batter will be a little loose at this point but do not worry if it looks a little scrambled-it will come together with the addition of the dry ingredients.

place the cake flour and baking soda (as well as the cocoa powder for the chocolate batter) into a sifter or a mesh strainer and sift them over the batter in the bowl.  using a rubber spatula, fold it in the flour a few times.  sprinkle the buttermilk over the batter and fold it together completely.  

to fill the pan, drop spoonfuls of the vanilla batter randomly into the pan-only use half of the batter and be sure to leave gaps between spoonfuls.  fill the gaps with spoonfuls of half of the chocolate batter.  repeat the process to make a second layer of batter but be sure to alternate placement so that vanilla covers chocolate and chocolate covers vanilla.  using a butter knife, carefully swirl the batter by plunging it into the batter and stirring gently from top to bottom as you turn the pan in a circular motion.  it does not need much stirring-the more you stir, the less contrast the pattern will have when the cake bakes.  make sure the batter is evenly distributed in the pan so that the cake will bake evenly.  bake until a pick inserted comes out clean, about 45-50 minutes.

cool the cake in the pan for at least 15 minutes.  carefully turn it out onto a rack by placing the rack over the pan and inverting it.  it may take a few taps for it to fall out.  

Thursday, March 6, 2014

pumpkin bundt with a milk chocolate chip and cinnamon sugar ribbon

and the bundt love continues.  the latest recipe to join the club, a pumpkin coffeecake with a ribbon of milk chocolate chips and cinnamon sugar.  just one more example of how versatile that base recipe i love to use is and how easy it is to transform it into something completely different each time.  this cake was headed out to the garden and since only a few volunteers came out, i had a lot of cake left over.  not to worry, i had to work the next morning and the cake went with me; my coworkers devoured it and all i had left was a dirty cake plate.  the use of milk chocolate chips means that the chocolate does not dominate the flavor profile-it gives just a hint of chocolate along with a little spice of the cinnamon and that is a good thing for those folks who are not big fans of chocolate or spiced chocolate.

sometimes, all a bundt cake needs is a little dusting of powdered sugar to dress it up.  a beautifully sculpted pan doesn't hurt either!  this one was a christmas gift from my mother in law and i have used it several times now.  now matter how simple the cake is, the pan makes it look rather elegant.  almost too elegant, i have to tell people, "please, go ahead, cut it!  have a slice!" because they are almost afraid to do just that.

pumpkin bundt cake
with a milk chocolate chip and cinnamon sugar ribbon
makes 1 bundt cake serving 12-16

6 ounces unsalted butter, softened
2 cups granulated sugar
1/2 teaspoon salt
3/4 cup pumpkin puree
3 large eggs
3 cups all purpose flour
1 tablespoon baking powder
1-1/2 teaspoons pumpkin pie spice
3/4 cup buttermilk
1/2 cup milk chocolate chips
2-3 tablespoons cinnamon sugar
powdered sugar

preheat the oven to 350.  grease and flour the tube pan and set it aside.  to make the batter, place the butter, pumpkin puree, sugar, and salt into the processor bowl and process until smooth.  with the motor running, add the eggs, one at a time and process until mixed.  scrape the bowl and pulse a few times to be sure it is combined.  dump the batter into a large mixing bowl; the rest of the recipe is combined by hand with a rubber spatula or a large wooden spoon.

place the flour, baking powder and pumpkin pie spice into a sifter or a mesh strainer and sift it over the batter.  fold the mixture a few times, sprinkle the buttermilk over the batter and fold it together.  carefully place half of the batter into the prepared pan and spread it out so there are not huge gaps and vacant areas-it does not need to be perfectly level.  sprinkle the cinnamon sugar over the batter in the pan and top with the milk chocolate chips.  carefully spread the remaining batter over the ribbon and bake until a pick inserted comes out clean, about 1 hour.  cool the cake in the pan for 20 minutes and then remove it from the pan and allow it to cool completely on a rack.

once the cake has cooled and is still on the rack, give it a liberal dusting of powdered sugar and then carefully place it on the serving plate.  the cake is best cut when completely cool.  to store, keep it covered in a cake container at room temperature up to 2 days.  to store in the freezer for up to a month, cut and wrap slices well in plastic and place them in a plastic container or bag before freezing.  thaw the slices, still wrapped in plastic, at room temperature.

Monday, March 3, 2014

rolled buttermilk scones: a tuesdays with dorie post


such a dark and dreary day.  cold and icy and snowy.  who isn't over this winter thing yet?  this weeks tuesdays with dorie baking challenge was buttermilk scones.  they were the perfect treat to pair with a steaming hot cup of tea on such a cold and damp day.

scones recipes call for cold butter to be cut into the dry ingredients.  this recipe was no exception.  to get the job done, i used my vintage piano wire dough cutter.

the recipe instructs you to cut the butter into the dry mix until it resembles coarse meal.  i left some small lumps of butter because that will add to the flaky texture i prefer in a scone or biscuit.


after the butter is cut in, buttermilk is added and the dough is kneaded about a dozen times.  in my opinion, the kneading is not necessary.  mix it up and pat it out.  game over.  the recipe gave us two options;  classic wedges or filled, rolled up and sliced.  since i have made more wedge shaped scones than i could ever count, i opted to make the rolled scones.  the dough was patted out into a 12" x 4" rectangle that was about a half inch thick.  first, a brush of melted butter, then a sprinkle of sugar before topping the dough with some candied lemon peel and candied citron that were left over from holiday baking.

there wasn't much to work with as far as rolling up the dough.  i didn't get much of a spiral and they looked more like a donut with a clump of dried fruit in the middle.  with a final brush of melted butter and sprinkle of sanding sugar over the top of each spiral, they were ready to be baked.

 a close up view of the spiral.

my work table.  i love being able to work with dough on the tabletop.  it is next to a large window and i get lots of natural light on my workspace.  the bench knife is one of my favorite tools.   it is one of those tools that once you have one, you cannot go without it.  first i used it to cut the butter up into little cubes.  then i used it to slice the spirals.  finally, a quick scrape across the tabletop removed all of the dough and flour.

the rolls took several minutes longer than the 10-12 minutes that the recipe called for.  in my oven, it was more like 15-16 minutes.

a quick and easy treat to make, scones are always a favorite of mine.  however, i was not impressed with this recipe.  it was not buttery enough for me-the recipe could have used a couple more tablespoons of cold butter cut into the dough.  it also could have used a little more buttermilk-i only used the amount called for since i had no experience with the recipe, i did not want to add too much.  then, there was the kneading which was totally unnecessary.  next time, i will stick to my own recipe but i may try the spiral slices again.

to see the recipe, visit this site.  but as a cookbook author, i ask that you consider buying the book, baking with julia.  it is a wonderful book to add to your cookbook collection!  to see what the other tuesdays with dorie bakers came up with, visit the website.

Saturday, March 1, 2014

cherry frangipan coffee cake

cakes are wonderful.  so many flavors to try.  almost as many shapes to bake them in.  honestly, there is something really special about a tube pan.  whether it is baked in the standard angel food pan or a fancy bundt pan, does not matter, either type will work and all of them add a little extra magic to the cake.

bundts and tubes make great cakes for parties, picnics and potlucks.  they generally do not need much frosting and slice well.  for me, the cakes are the perfect gift to take out to the garden to thank my fellow garden volunteers for helping tend to the beds.  they are also a great choice to take to the class each week to share with the interns since slices can be nibbled without the need for a plate or fork.   the biggest challenge i face is choosing a flavor each week, sometimes twice in a week.  

this week, i chose to pair almond paste and tart cherries.  my favorite coffee cake recipe is so versatile that adding almond paste is a great way to make the same cake seem different.  this cake recipe uses the same base recipe as the cranberry-orange coffee cake i posted several weeks ago.  almond paste is easy to find, it is sold in the baking section of the supermarket, usually near the pie and pastry fillings.  the little cans have 8 ounces of almond paste in them and while it seems like a small amount, a little goes a long way in terms of flavor.  

when i open a can, i always cut it into four equal pieces and since i generally use just two ounces at a time for a coffee cake, i wrap each piece and store them in a container in the freezer.  then when i need some, i simply pull it from the freezer, cut it into cubes and let it thaw out and soften before adding to the batter.  to use in the recipe, i generally replace about 1/4-1/3 of the butter with almond paste.

another thing i love about tubes and bundts, you can hide a filling in them without having to worry about the cake collapsing from the weight!  for this recipe, i used some really well drained tart red cherries.

ssshhh...the filling is a secret!

and if the cake wasn't already enough, i went and added crumb topping.  actually, it could be that the cake was the vehicle for the crumb topping, just sayin...i love crumb topping!

beautifully baked-nothing else needed

however, i just couldn't help myself.  it seemed like such a waste to pour the cherry juice down the drain.  quickly, i stirred the cherry juice into some powdered sugar.

pink glaze for the top of the cake, add enough juice to make a slightly thin glaze that drips slowly from the spoon rather than running off quickly-a thicker glaze will stay on the cake better than a runny one.

now that's a coffee cake!  careful little drizzles prevented it from getting soggy and saturated with glaze.

cherry-frangipan coffee cake
1 (10") tube or bundt cake
serves about 16

crumb topping
1/2 cup unbleached all purpose flour
1/2 cup rolled oats
1/3 cup dark brown sugar
1/2 teaspoon ground cinnamon
1/8 teaspoon baking soda


4 tablespoons unsalted butter, cold and cut into small cubes

cake
4 ounces unsalted butter, softened
2 ounces almond paste
2 cups granulated sugar
1/2 teaspoon salt
3 eggs
3 cups all purpose flour
1 tablespoon baking powder
3/4 cup buttermilk
1 (14.5 oz) can tart red cherries, drained well, juice reserved
1 cup powdered sugar

to make the crumb topping, place the flour, oats, brown sugar, cinnamon and baking soda into the bowl of a food processor.  pulse a few times to combine.  sprinkle the butter cubes over the top of the mixture and pulse to cut it together.  continue to process the mixture until it begins to clump.  dump the mixture out of the bowl and set it aside.

preheat the oven to 350.  grease and flour the tube pan and set it aside.  to make the batter, place the butter, almond paste, sugar, and salt into the processor bowl and process until smooth.  with the motor running, add the eggs, one at a time and process until mixed.  scrape the bowl and pulse a few times to be sure it is combined.  dump the batter into a large mixing bowl; the rest of the recipe is combined by hand with a rubber spatula or a large wooden spoon.

place the flour and baking powder into a sifter or a mesh strainer and sift it over the batter.  fold the mixture a few times, sprinkle the buttermilk over the batter and fold it together.  carefully place half of the batter into the prepared pan and spread it out so there are not huge gaps and vacant areas-it does not need to be perfectly level.  arrange the drained cherries over the batter in the pan and top them with the remaining batter.  sprinkle the crumb topping evenly over the cake and bake until a pick inserted comes out clean, about 1 hour.  cool the cake in the pan for 20 minutes and then remove it from the pan and allow it to cool completely on a rack.

to make the glaze, sift the powdered sugar into a bowl.  while stirring, add enough of the reserved cherry juice to make a slightly thin glaze that pours off a spoon slowly.  drizzle small amounts of the glaze over the cake on the rack-how much you use is up to you, i used the entire amount for this cake.

the cake is best cut when completely cool.  to store, keep it covered in a cake container at room temperature up to 2 days.  to store in the freezer for up to a month, cut and wrap slices well in plastic and place them in a plastic container or bag before freezing.  thaw the slices, still wrapped in plastic, at room temperature.