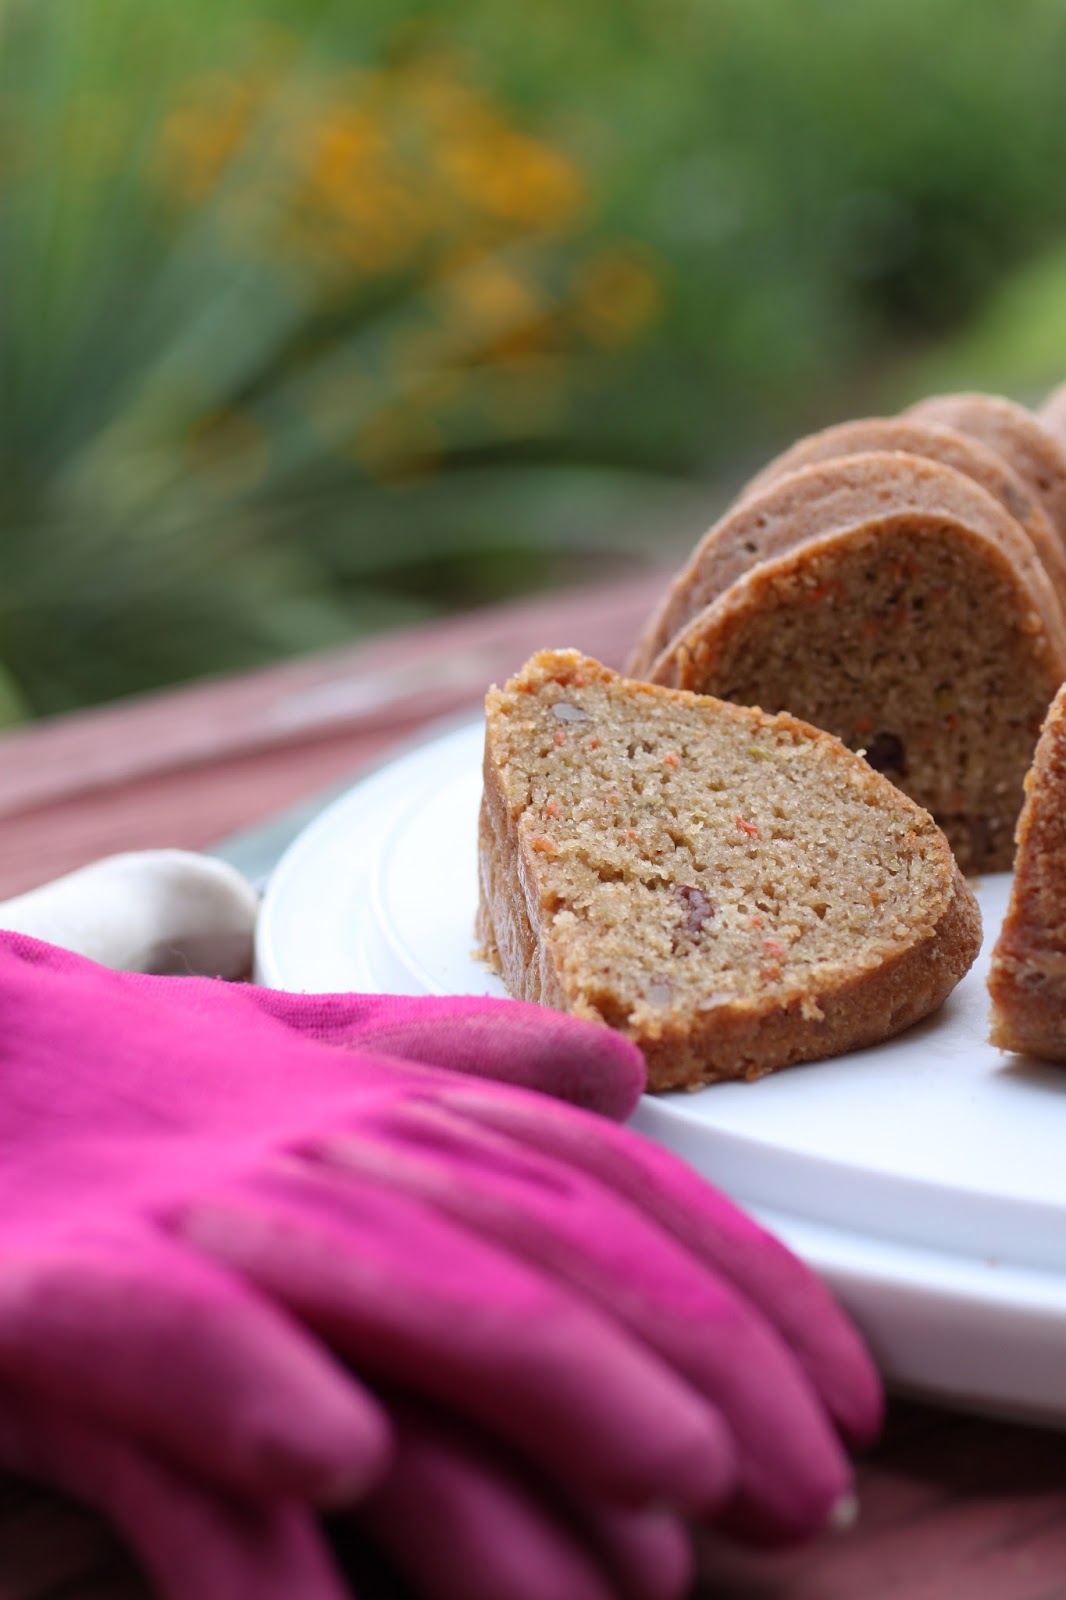
i am a cookbook hoarder. i'm not ashamed, it's a habit that i can live with and speak of out loud without fear of the consequences. after all, i am a cookbook author, it's only fair that i collect the books of other authors if i expect anyone to collect mine. my husband might disagree, he suggests getting rid of the ones i do not use on a regular basis. i have become adept at getting around this. my current strategy is to cook from the books that have gathered a little dust. he is enjoying the results and asks when i will make something again, also asks "what did you cook for dinner today?" with a level of enthusiasm i am not accustomed to. so you see, my plan is working, for now at least because men can easily be manipulated with food, sometimes.
long, long ago, before children, i bought a copy of irene kuo's book, the key to chinese cooking. it was published in 1977 and i have had it since the 80's when i purchased it most likely from a book club-remember those? oh how i have dated myself with this post... this book has been lugged around, cross country twice and recently, i decided i needed to use it or lose it.
while i have always enjoyed chinese food, it is not something i crave. but i must admit, i have always loved the stir fries served in restaurants. the texture of meat and poultry is always so tender and moist. the secret is the velveting technique and using the recipe in this book works. to test the theory, i made my husband cook a chicken stir fry using the recipe-after all, he was the one who said you have to velvet the meat to make it tender. he is fussy about meals so when i see him getting cranky about food-i make him cook it. but to be fair, i try to make meals that he will enjoy. and recently, i picked up this book and made him a batch of szechuan green beans and shrimp fried rice. the garden dumped a bowl of beans on me and it was the perfect recipe to use them in.


i could eat these all day.

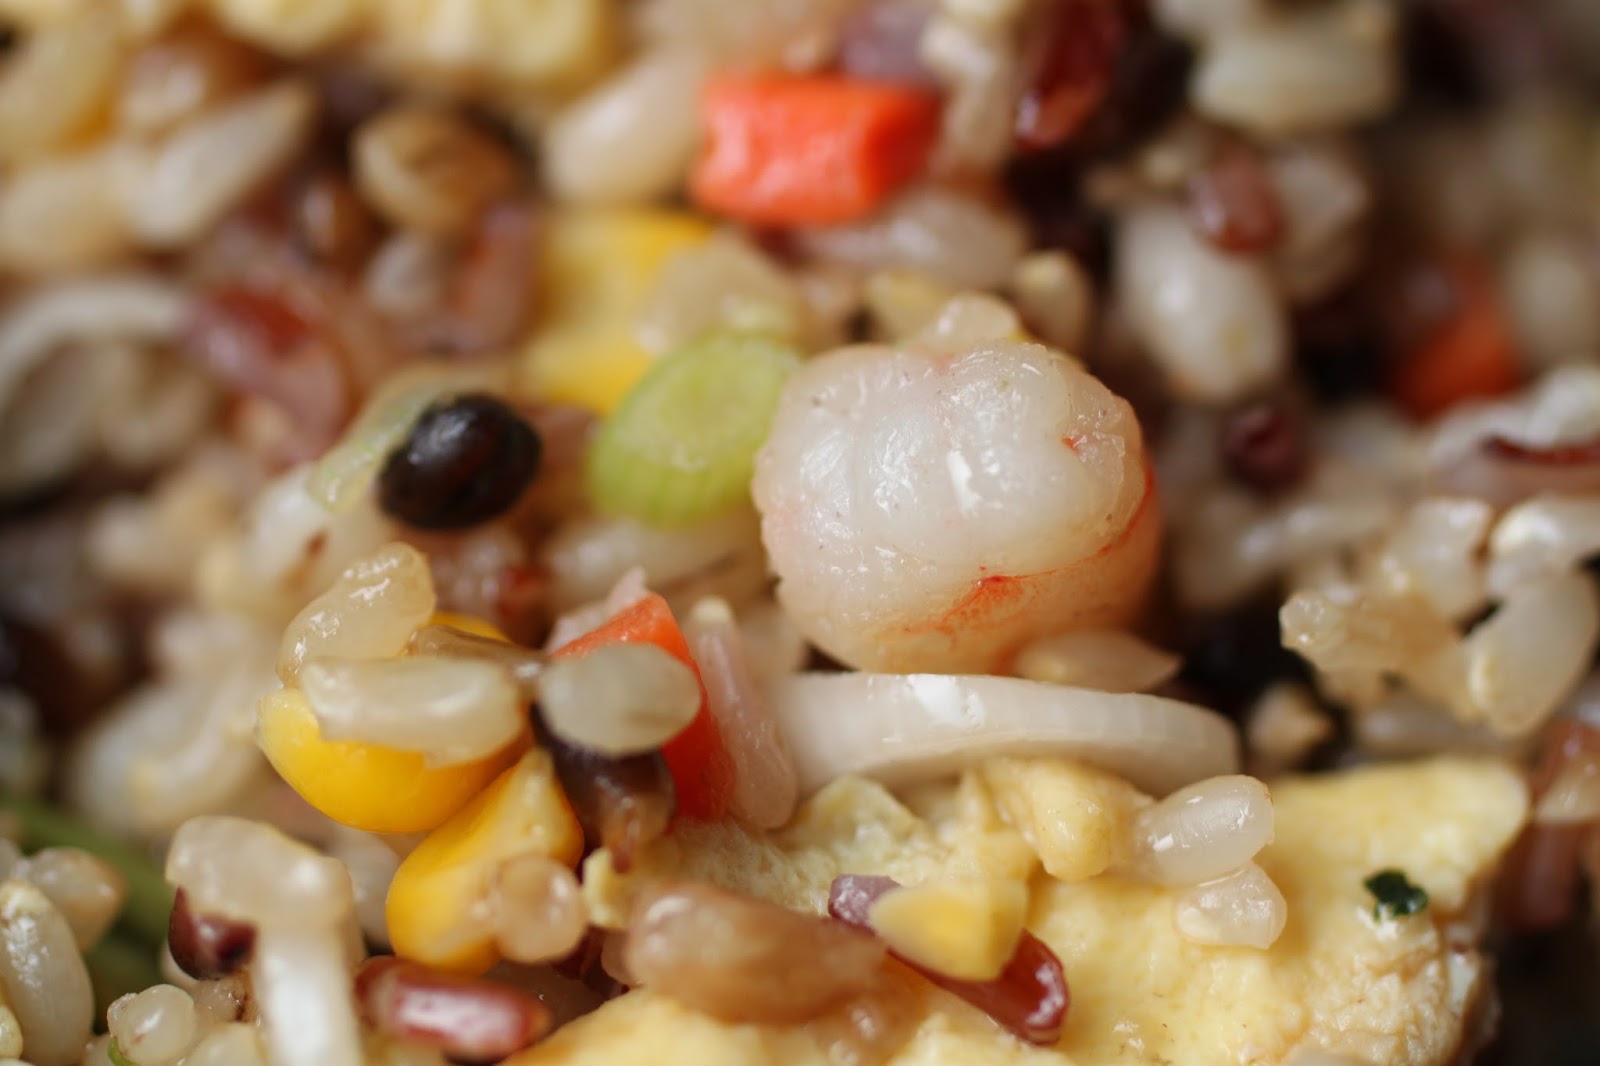
szechuan green beans and shrimp fried rice
both recipes are adapted from the key to chinese cooking by irene kuo
green beans
1 pound green beans, cleaned and cut in half
1 teaspoon minced ginger
1 scallion, finely chopped
1 clove garlic, minced
1 tablespoon minced cowhorn or other spicy pepper(can be omitted or reduced)
1 teaspoon sugar
1 tablespoon soy sauce
1 tablespoon dry sherry
2 cups vegetable oil
1/4 cup vegetable broth
1 teaspoon vinegar-cider or rice
1 teaspoon sesame oil
sesame seeds for sprinkling on top
the book uses a technique of preparing a working platter and it is very helpful so i will use it here as well. place the beans on the platter. as you prepare the ginger, scallion, garlic and hot pepper, place them in separate piles on the platter. in a small bowl, stir together the sugar, soy sauce and sherry and set it aside. have a heat proof bowl with a strainer ready for the beans. using a wok, heat the oil to 375. add the beans slowly by scattering them across the surface of the oil a few at a time to keep the temp from dropping quickly. stir them constantly to fry them until they look wrinkly, about 3 minutes. dump the beans and oil into the strainer. save the oil, you will need 2 tablespoons for the rest of the recipe, keep the remaining oil in the fridge and use it anytime you need oil for a savory dish.
over medium heat add the 2 tablespoons of saved oil to the wok and swirl it around to coat the surface. add the ginger, garlic, scallion and pepper and stir a few times. add the sauce, broth and the beans and quickly toss it to coat the beans. finally, add the vinegar and sesame oil, stir a few times and dump out onto a serving dish and finish it with a sprinkle of sesame seeds.
shrimp fried rice
4 ounces raw shrimp-weight is without the shells, only the meat
1/4 teaspoon salt
1 teaspoon cornstarch dissolved in 2 teaspoons water
5 tablespoons oil (remember the oil you saved from the beans?)
2 large eggs
3 1/2 cups cooked rice
2 large scallions, chopped finely
1/2 cup cooked vegetables-frozen and thawed veggies will work here, i used corn and carrots
soy sauce and sesame oil to taste
if the shrimp are large, chop them into 1/2 inch pieces. toss them in the cornstarch/water mixture. heat the wok over medium-high heat and add 2 tablespoons of oil. swirl it to coat the wok, turn the heat to medium and scatter in the shrimp. stir them quickly to cook them and then dump them into a dish and set aside.
wipe out the wok, heat it again over medium-high heat and add the remaining 3 tablespoons of oil. again, swirl the oil to coat the wok and heat the oil. add the eggs. as they cook around the edges, push them to one side of the wok to allow the still liquid eggs to run into the oil and cook. tilt the pan if needed and continue to do this until the eggs are no longer runny but are soft and fluffy-almost like an omelet. scrape them out into a dish and set aside.
reheat the wok over medium heat, no more oil is needed at this point. add the rice and stir it to heat it, about 1 minute. add the scallions and cooked veggies and stir rapidly to heat them. add the shrimp and the eggs and using your spatula (bamboo works well here-it will not melt!), fold the sides into the middle to mix it and to chop the eggs. drizzle in a little soy and sesame and stir to combine, pour into a serving dish.