sorry for the delay-i tend to do this type of work at night and i ran out of steam last night! the next step in assembling the cake is the crumb coating-and it is a crumby job...right, i can hear the crickets too...for this job, i pulled out my magic bag of tricks-a big yellow toolbox that has just about everything you can think of in it to construct or destruct a cake (all depends on how you look at it)
the lid has little compartments for all the tips and couplers that i generally need
the big yellow box
inside, i have everything else that i need
the oddest thing in there-a level. i get puzzled looks when somebody finds it in there. they ask me what i am planning to build-a cake needs a level space or it may fall over!
the next step is to make the frosting. in this case, it was classic meringue butterceam flavored with vanilla. the sugar is cooked to 238 on a candy thermometer (soft ball stage) and then poured into egg whites to make the meringue

one thing to remember, always have everything ready to go. once the sugar is at temperature, it cannot wait. have your mixer ready with the egg whites in the bowl. next thing to remember-pour that sugar very carefully! pour it in a thin stream at the side of the bowl as the it whips the egg whites. if you hit the whip with that sugar it will splatter and sugar at 238 can give you a nasty burn!
the meringue whips up beautifully and it will cool down to slightly warmer than body temperature. at that point, you can add the butter(which is very soft but not at all melted) in chunks and allow it to mix up. it will be very light and fluffy. add your flavor and mix to combine. now, it is ready to go.
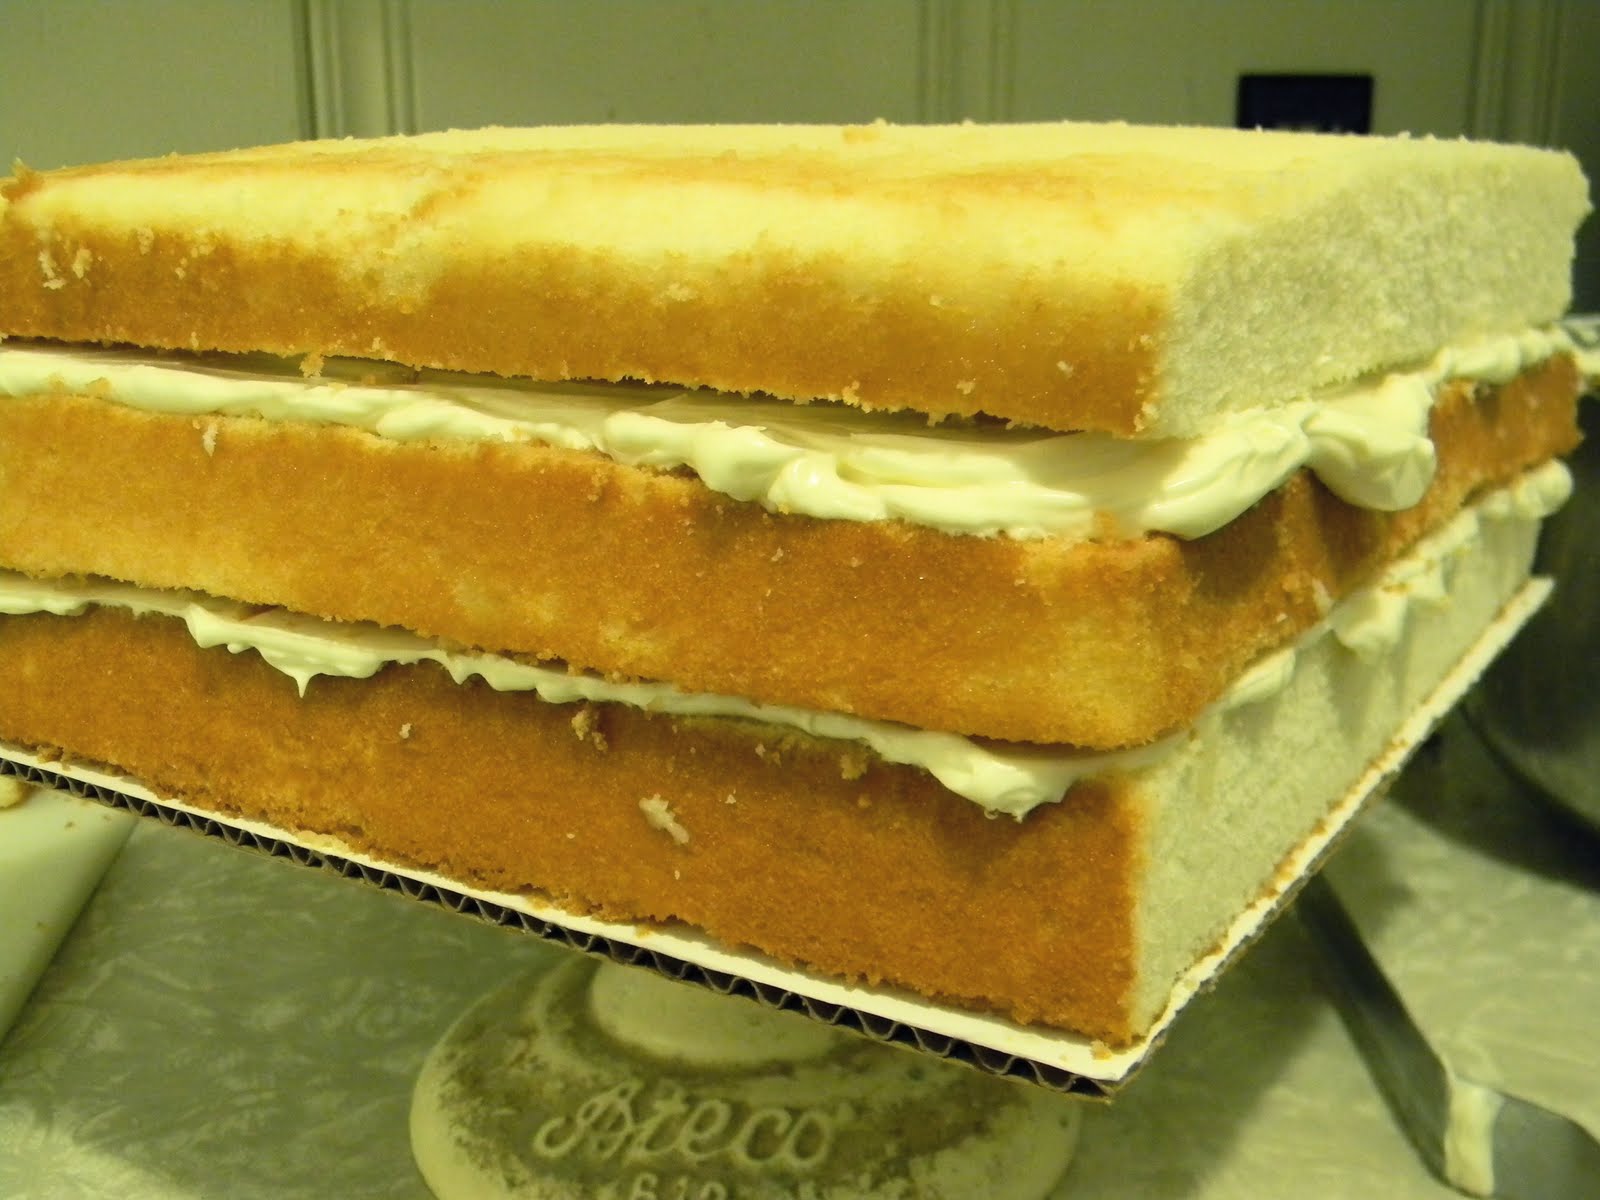
at this point in the game, your cake layers must be cold. never try to do this with room temperature cakes-they crumble. for this reason, i always make my cakes a day ahead and keep them in the fridge. if they need trimming or if i am cutting custom sizes, i can be sure that i will get sharp edges and still be able to handle the layers without breaking them. trim the cakes if necessary and begin assembly.
it's called a crumb coat for a reason, it is a sloppy finish meant to seal in the crumbs and establish the shape of the cake. it is not supposed to look good at this point. and don't try to go cheap and only frost it once unless you are coating it with fondant. take the time to chill the cake with the crumb coating for several hours and then do your finishing layer. you will have nice sharp lines and a smooth coat to work with in the end. better yet-no crumbs peaking out at you.
so, since today is the big day, i have a cake to deliver!!! tune in tomorrow for the final coat and the addition of the fresh flowers.


No comments:
Post a Comment